 Normally, Pâte feuilletée is used when you’re making/preparing appetizers such as little patties.
But for some reason, I prefer Pâte brisée.
I have to stop for a minute to explain the difference between the two. It’s quite amusing.
Pâte feuilletée literally means sheet-ed paste. It’s also know as puff paste/crust due to its fluffiness that results of the layers of the “sheets” it consists of. I found this great tutorial on how to make a Pâte feuilletée. Unfortunately, it’s in French. If you speak the language, you can follow the step by step instructions here
Pâte brisée, on the other hand literally means broken paste/crust because of its brittleness. Now, I prefer that one because of the way it just blends in and melts with the filling once you take a bite out of it.
I’m breaking the tradition of using the Pâte feuilletée to make haitian patties (not to be confused with Pâté kodé- That’s for later).
So to be fair, I will post the recipes for both Pâte feuilletée and Pâte brisée. You pick!
Pâte feuilletée recipe
Ingredients:
- 13 ounces of all purpose flour ( 1- 1/2 cup)
- 1-1/2 tsp of salt
- 1 cup of cold water
- 1-1/4 cold unsalted butter
Directions:
- Sift the flour and add salt. Place flour in a large bowl and create a groove in the middle (volcano-like)
- Cut the butter into pieces and add them into the middle of the volcano. Work the butter and the flour together until it resembles coarse cornmeal.
- Again, shape the mixture into a volcano. Gradually add the water in the center of the volcano, quickly mixing (adding) the flour into the water. Do not knead. Use your fingers to create a sticky détrempé.
- Once this is done, place your détrempé onto a floured surface and start kneading into a round ball. Place in the refrigerator overnight.
- On a lightly floured board, roll the détrempé into a rectangle approximately 12 inches by 15 inches. Brush away any flour from the dough’s surface.
- Peel one piece of plastic wrap from the butter. Position the butter in the center of the rectangle and remove the remaining plastic. Fold the four edges of the détrempé over the butter enclosing it completely. Stretch the dough if necessary; it is important that none of the butter be exposed.
With the folded side facing up, press the dough several times with a rolling pin. Use a rocking motion to create ridges in the dough. Place the rolling pin in each ridge and slowly roll back and forth to widen the ridge. Repeat until all the ridges are doubled in size. Using the ridges as a starting point, roll the dough out into a smooth, even rectangle approximately 8 inches by 24 inches (20 centimeters by 50 centimeters). Be careful to keep the corners of the dough as right angles. - Fold the dough in thirds, like a business letter. If one end is damaged or in worse condition, fold it in first; otherwise, start at the bottom. This completes the first turn.
- Rotate the block of dough 90 degrees so that the folded edge is on your left and the dough faces you like a book. Roll out the dough again, repeating the ridging technique. Once again, the dough should be in a smooth, even rectangle of approximately 8 inches by 24 inches (20 centimeters by 60 centimeters).
- Fold the dough in thirds again, completing the second turn. Cover the dough with plastic wrap and chill for at least 30 minutes. Repeat the rolling and folding technique until the dough has had a total of five turns. Do not perform more than two turns without a resting and chilling period. Cover the dough completely and chill overnight before shaping and baking.
Reference: http://homecooking.about.com/od/breadrecipes/r/blbread85.htm
Pâte brisée recipe:
Ingredients: It’s basically pie crust! I already posted a recipe for it in one of my previous posts : https://mangeonslakay.wordpress.com/2012/11/29/tarte-a-l-oignon/
Now, all you have to do is cut your paste into little squares about 2″ x 4″ or smaller and add a filling to it. (just like a sandwich but closed on the corners).
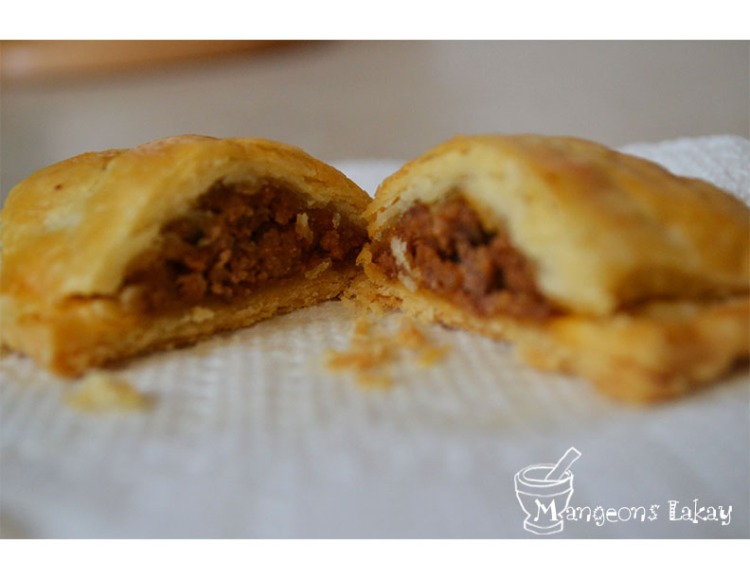
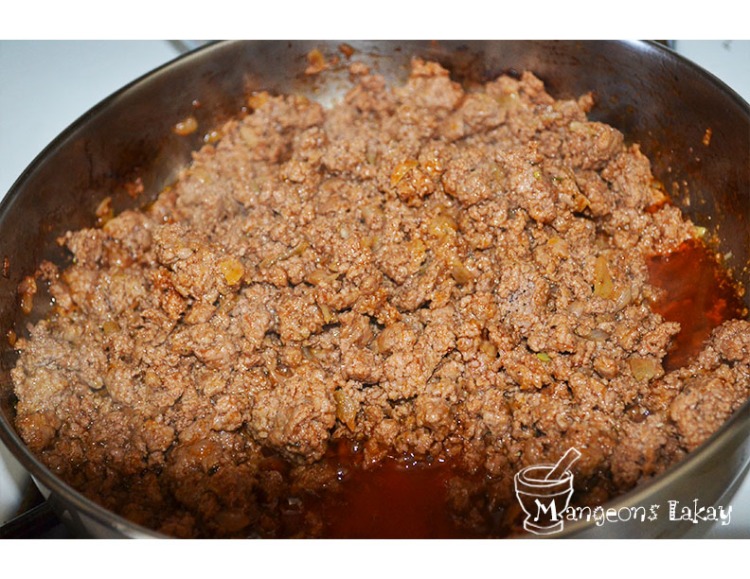
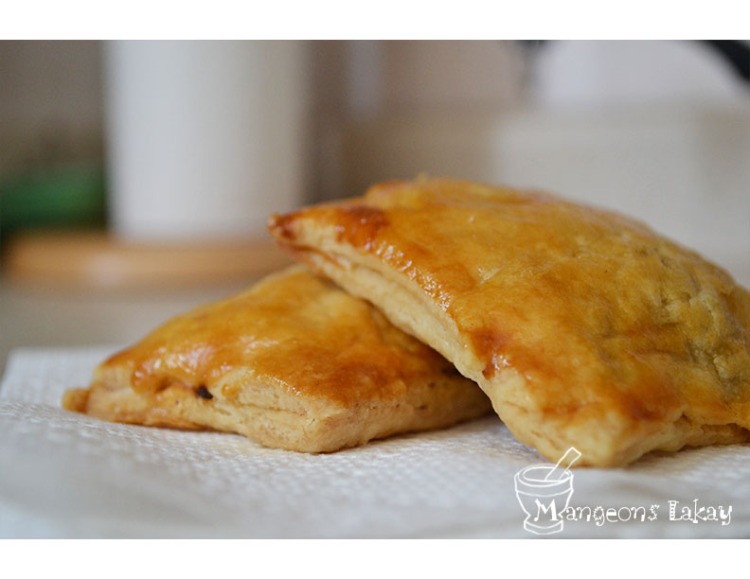
I made Pâte brisée with ground beef filling!
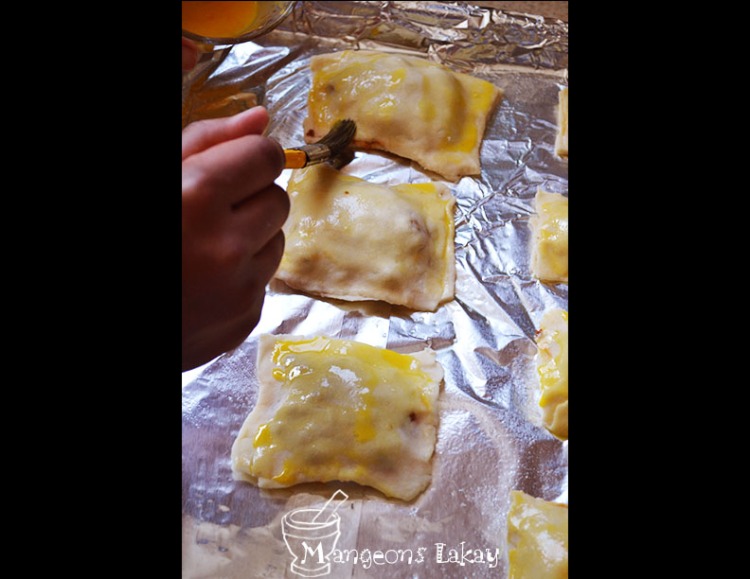
To give the patties a golden appearance, brush them with egg yolk before baking them.


can you upload a video for patee feuillete. thanks!! your recipes help a lot!!
Yes definitely! I’ll get to it soon and post it! 🙂
Soooo… wap fe pate pou mwen leu’m desann pa vre? M we ou fin tounen chef! lol!
I think I’m gonna try this this weekend. With Nath as a guide, all meals are possible! 🙂
I’ve been looking hard for a recipe for the Pâte brisée made with an anchovy filling. Thanks for providing the answer for the crust! Used to get them from a little shop near the PaP airport. And yeah, I prefer the brisée over the feuilletée, too.